
If you can recall, I tried my hand at making sneakers using SneakerKit last summer, but I made the (beautiful) mistake of attempting to cross-stitch leather. I also wasn’t totally pleased with the quality of the kit. Since then, though, the sneaker-making bug came back, and SneakerKit changed the insoles that were giving us trouble. SneakerKit is based in the Netherlands, and since international shipping is pricey, I thought our trip to Amsterdam would be a great chance to get another pair.
I follow SneakerKit on Instagram, and for a long time I’ve been seeing them share sneakers using fabric and a product called Decovil. Considering how much I love fabric, the idea of using fabric to make shoes really excited me. I had never heard of this Decovil stuff before (though I assumed it was a sturdy fusible interfacing – which it is), so I looked for it in Amsterdam and found it quite easily. The idea to use Decovil with SneakerKit isn’t my own, and I figured out a lot of it from @tinesews on Instagram, who has a highlighted story (in German) showing how she did it.

And now, I’ll show you my way.
I did stay awake in bed for a few nights trying to think of the best way to do it. Tine lined her sneakers by using spray glue to glue the lining to the Decovil on the inside, and then finished the raw edges with bias binding. I didn’t have spray glue, so I wanted to find another way.
First, I used the template that comes with SneakerKit (downloadable from their website) and traced the pieces onto the non-adhesive side of the Decovil. Basically, I followed the same steps for cutting out leather that SneakerKit provides. I didn’t mark the punch holes.

I cut out the pieces and ironed them to the wrong side of my main fabric, making sure to leave a good border all around each piece for seam allowances. I cut out the pieces, but eyeballed a 1/2″ seam allowance along the top edges of the sneaker sides, and around the long part of the centre piece that would be the tongue.
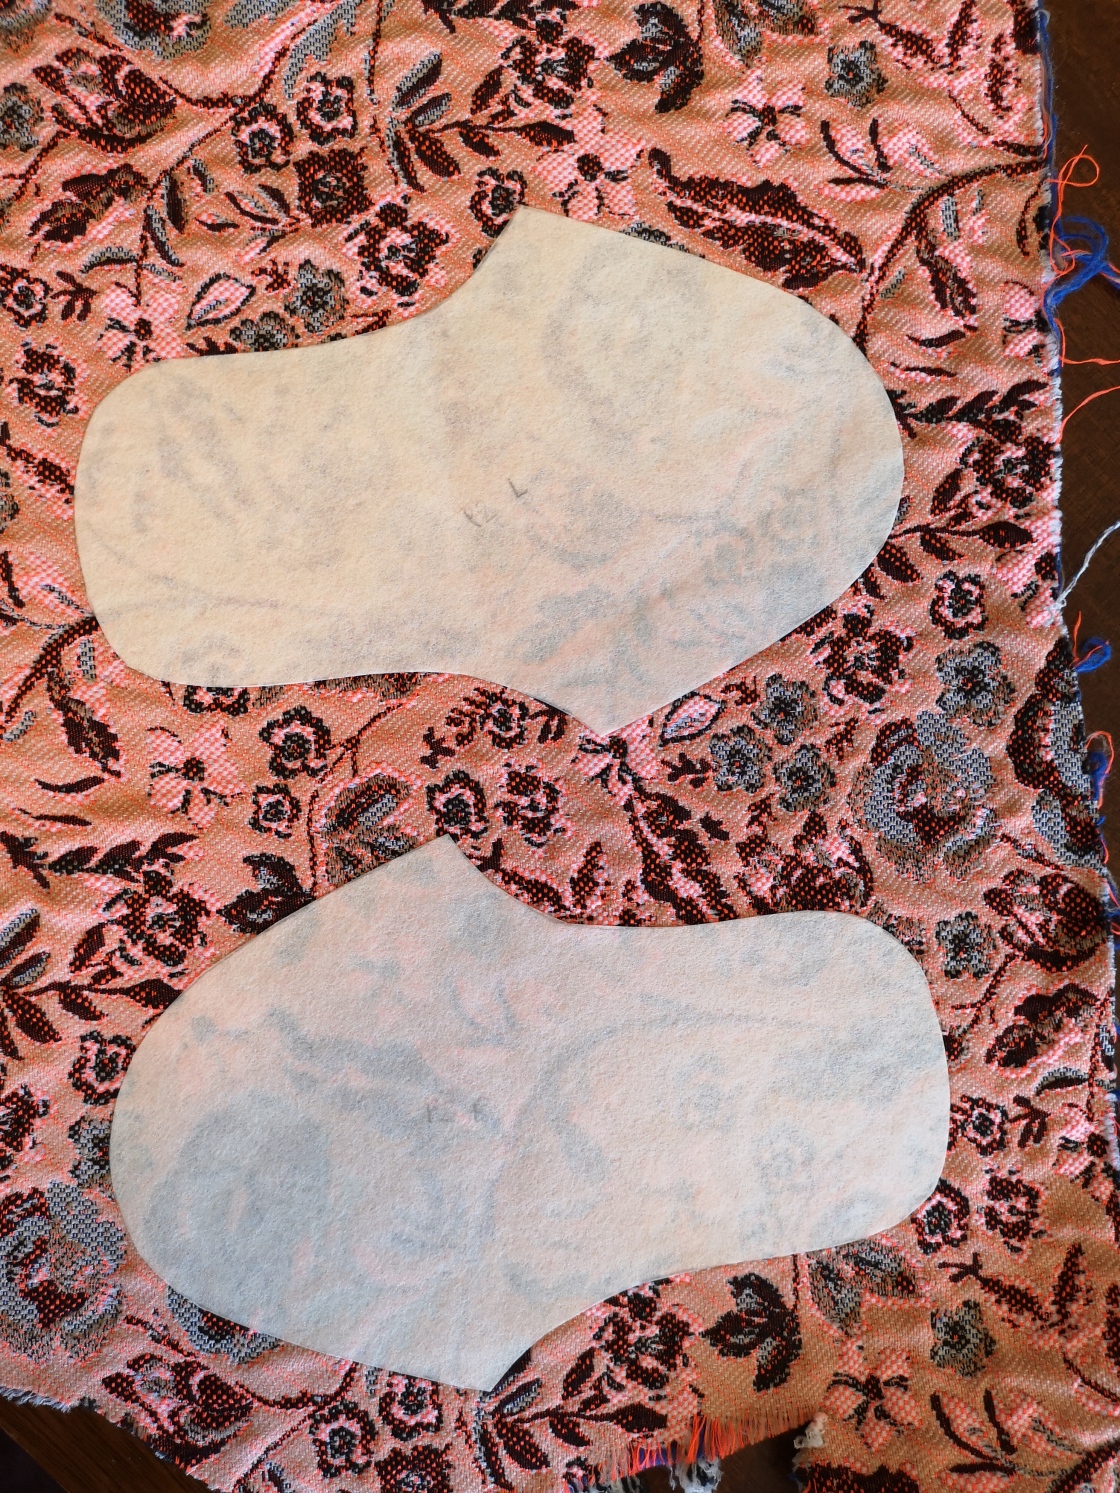
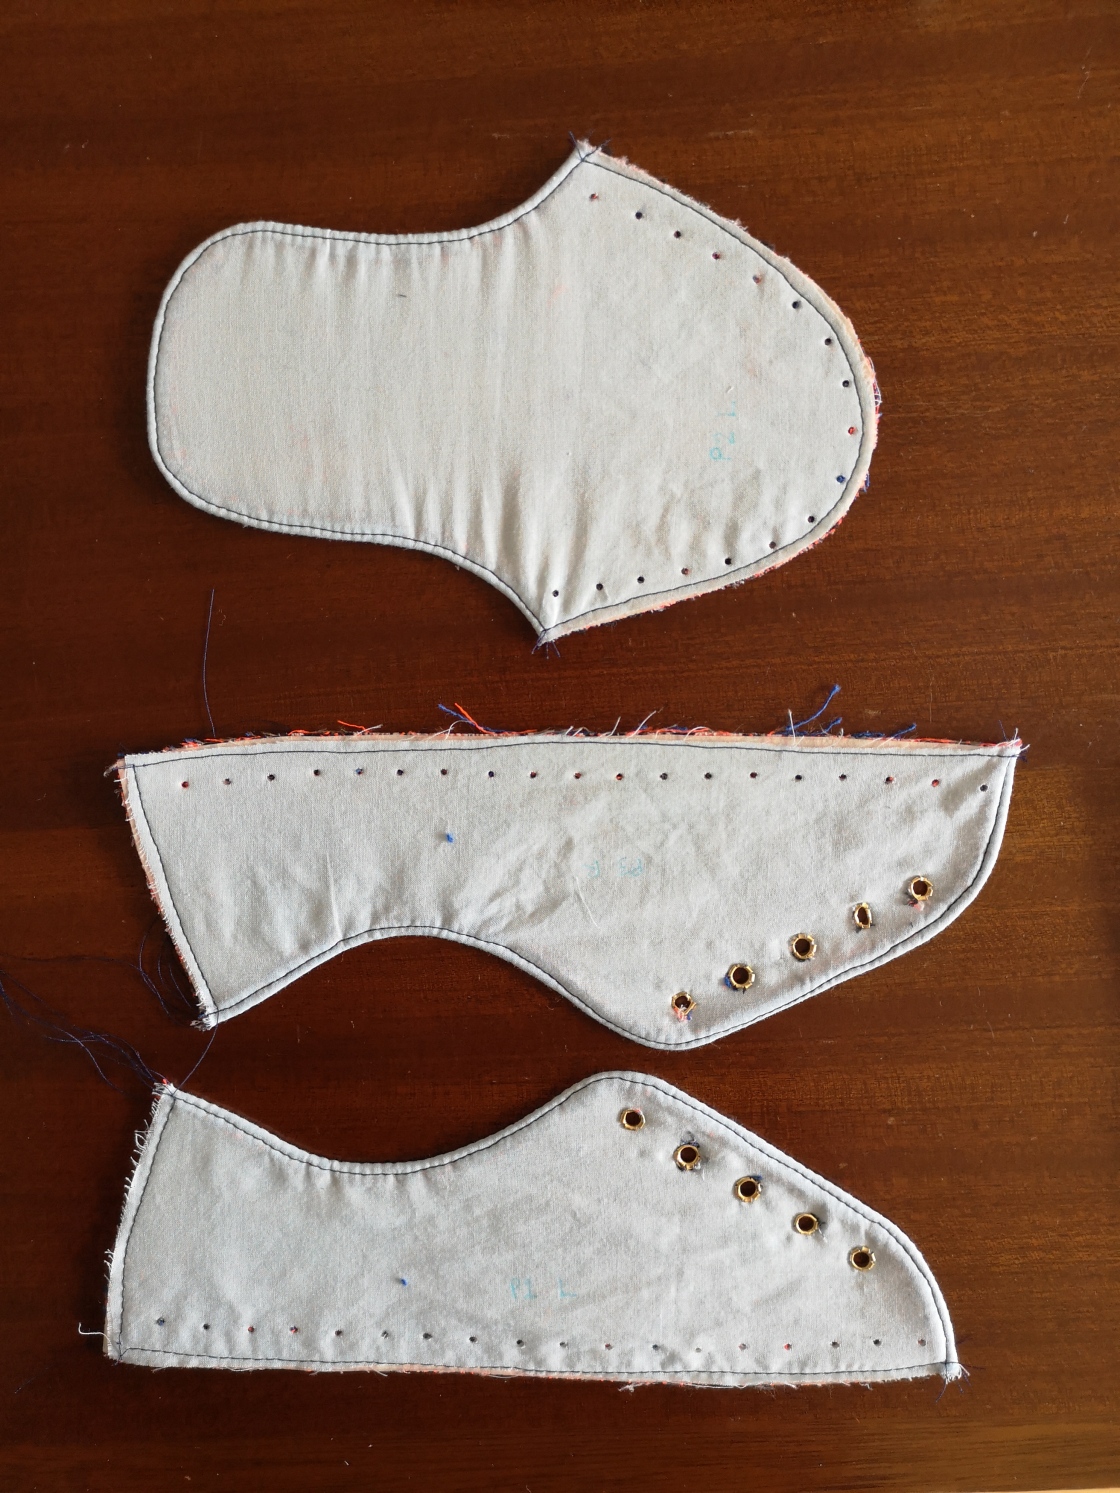
Then I placed these pieces on the lining fabric and cut out the lining using the interfaced main fabric as a template. I sewed the lining to the right side of the main fabric, stitching right along the edge of the Decovil.
I trimmed the seams and clipped the curves, and turned the lining fabric to the inside. I found the lining fabric got kind of tight and pull-y, but I managed to press it out enough that it wasn’t a problem.
Then I topstitched the edges, which also helped keep the lining from flipping out. I also stitched down the open raw edges of the pieces so the lining wouldn’t pull back up.
Once all the pieces were sewn, I marked them and prepared them according to the SneakerKit instructions, but I didn’t punch holes up the back of the shoe/ankle. This is because those holes are used to stitch the two side pieces together (P1 and P3) and I decided I would do this on the sewing machine.
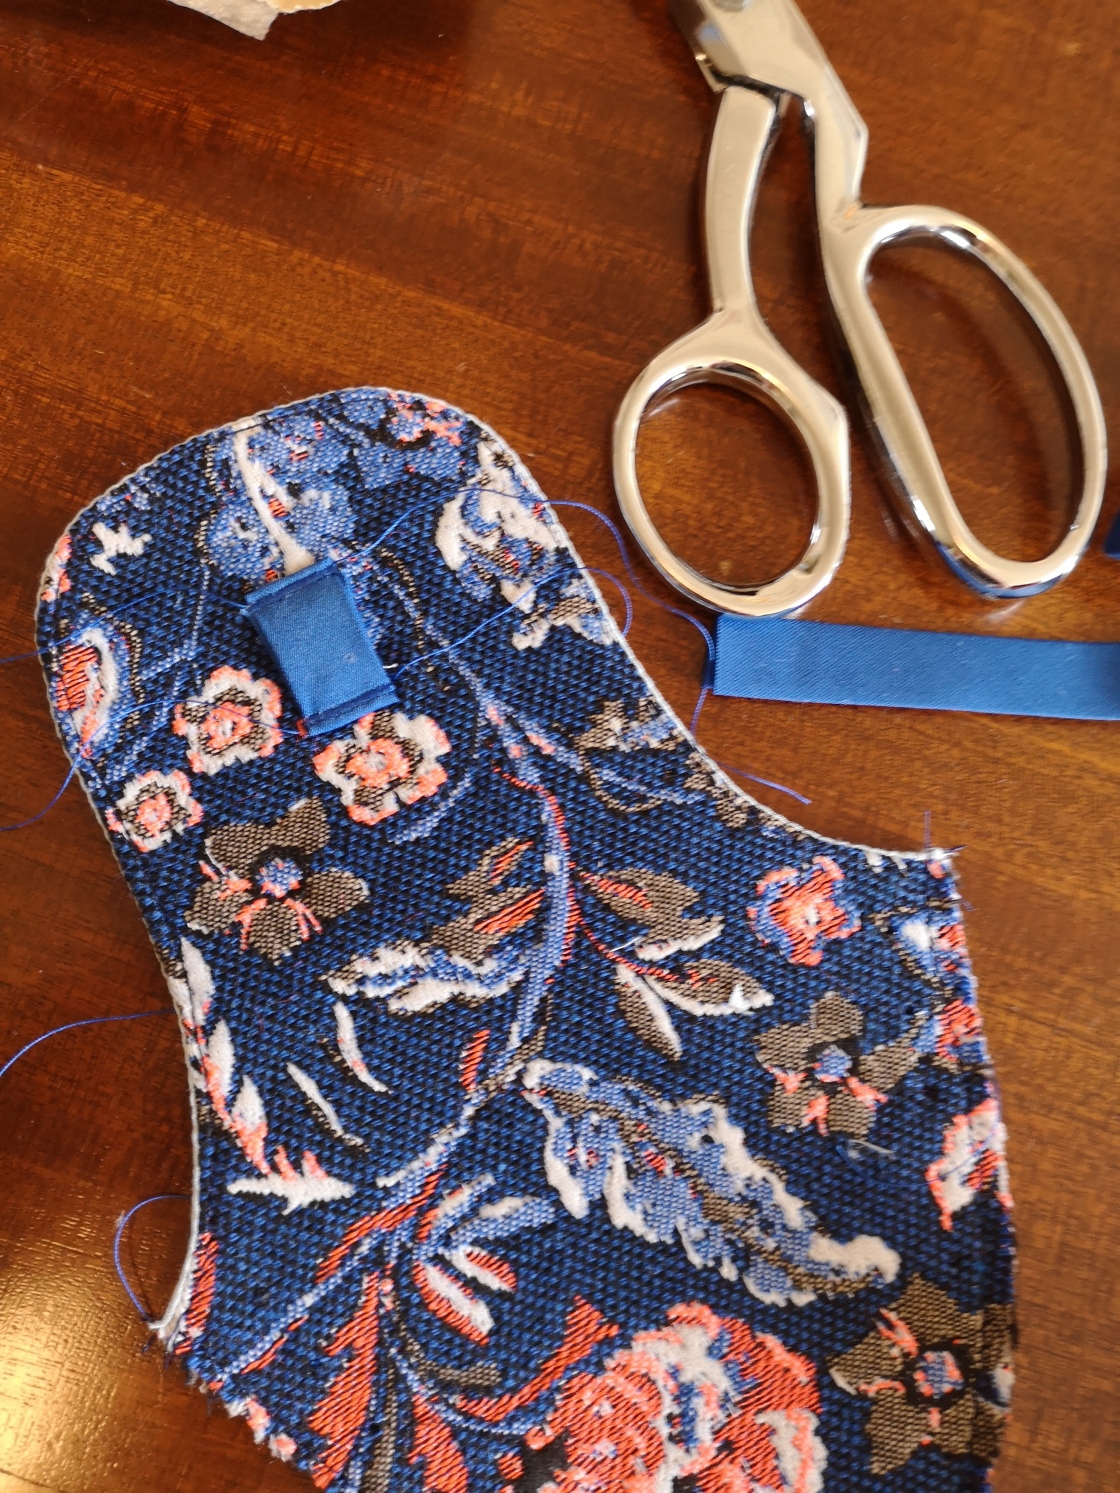
On the tongue, there is supposed to be a little slit in the leather for the laces to be held in place. Since cutting into the fabric would leave an ugly raw edge, I decided to stitch a small piece of bias binding on top of the fabric. I used a very narrow and dense zigzag stitch to tack it in place where marked on the pattern.
I installed eyelets before proceeding. This was a huge pain in the neck. I bought Prym 4mm eyelets in Amsterdam and the tool that came with it kept squishing the eyelets into ovals. To fix this, I used the little hole-punch that came with it and did one or two knocks with the hammer using the tapered end (the end that doesn’t have a hole-cutting…circle) and this helped get things going in the right direction. I then finished them off using the little tool.
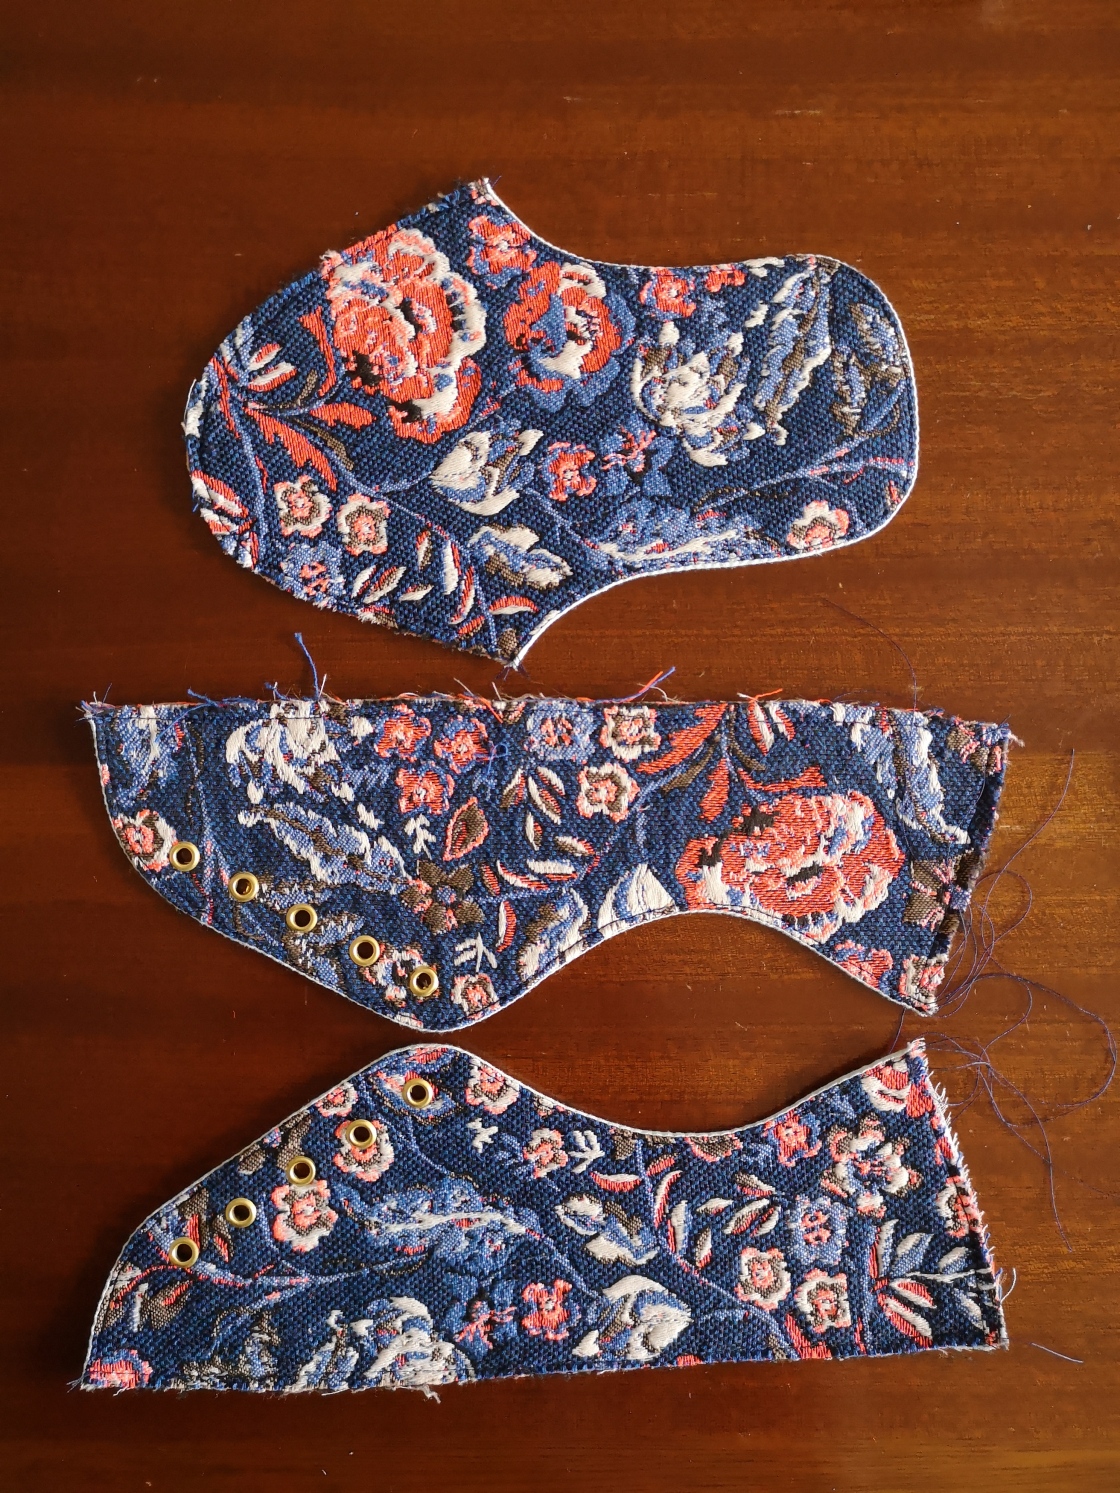
Once all the pieces were ready for assembly, I sewed bias binding onto pieces P1 and P3 (at the back) instead of using the small rectangular piece in the pattern (I used the machine for this – it sewed fine through the Decovil using a size 80 needle). I also found that at this point the fabric was fraying on all my pieces, so I covered each raw edge in fray check.
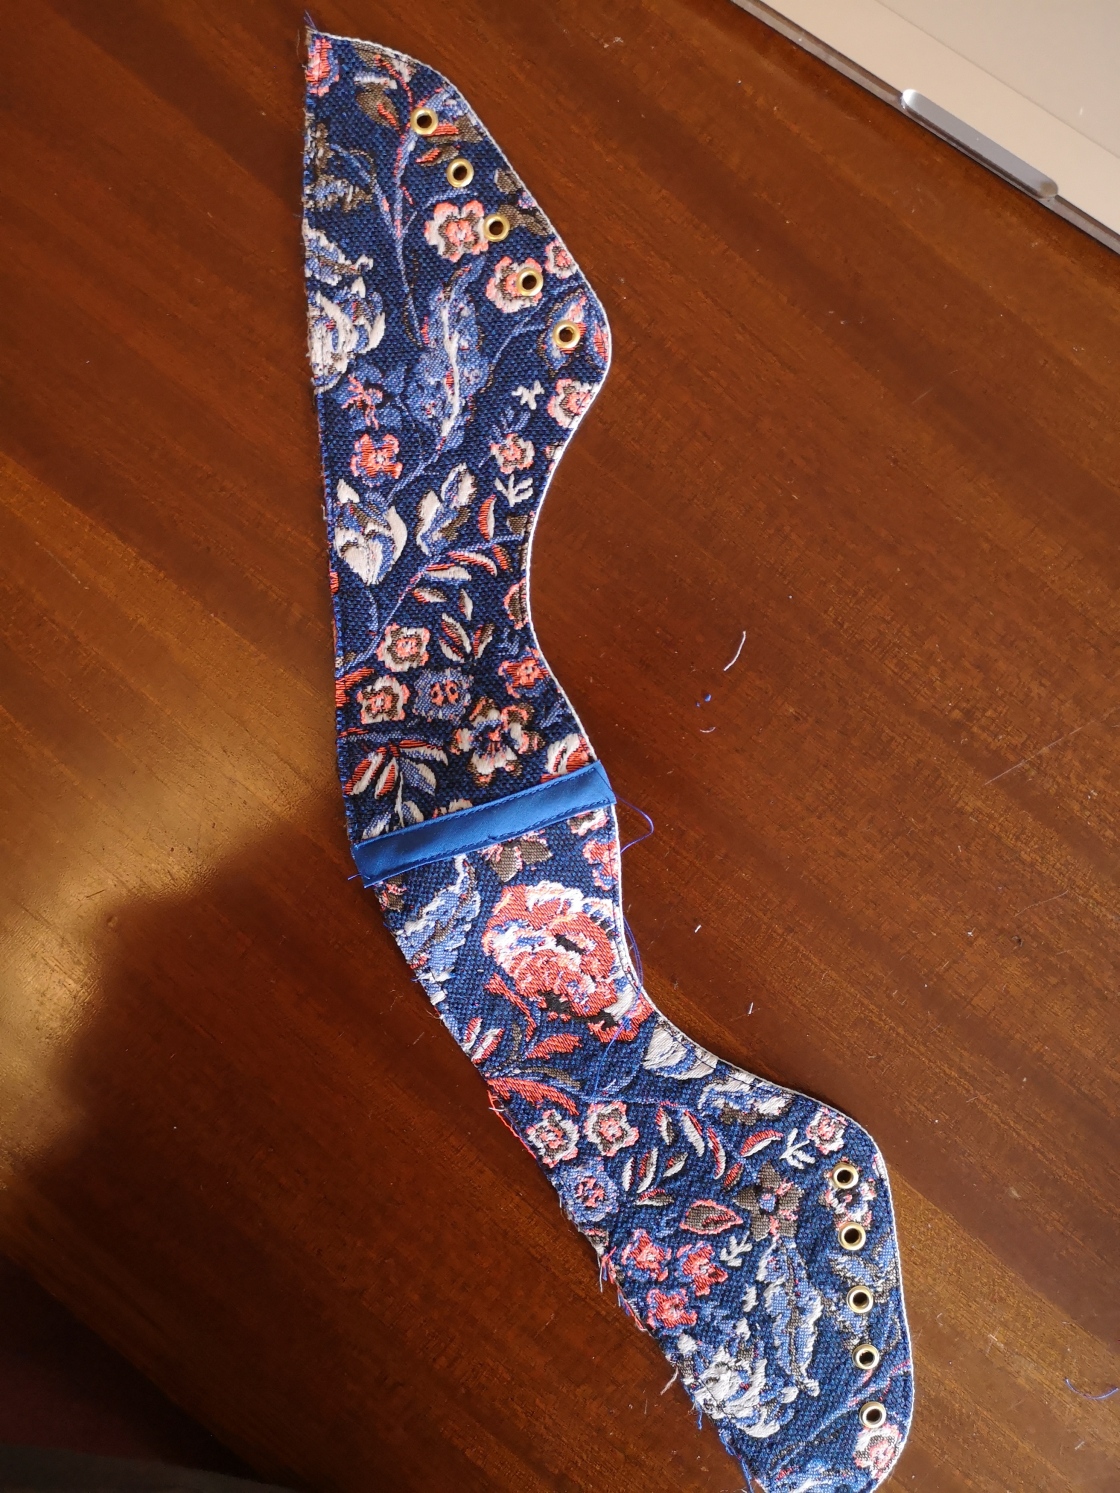
After that point, I assembled the sneakers according to the Sneaker Kit instructions! And that’s it! They say you can finish SneakerKit in a day, but with all the prep I had to do with the Decovil, the lining, and the eyelets, it took me two. Still, not too shabby for a new handmade pair of shoes!
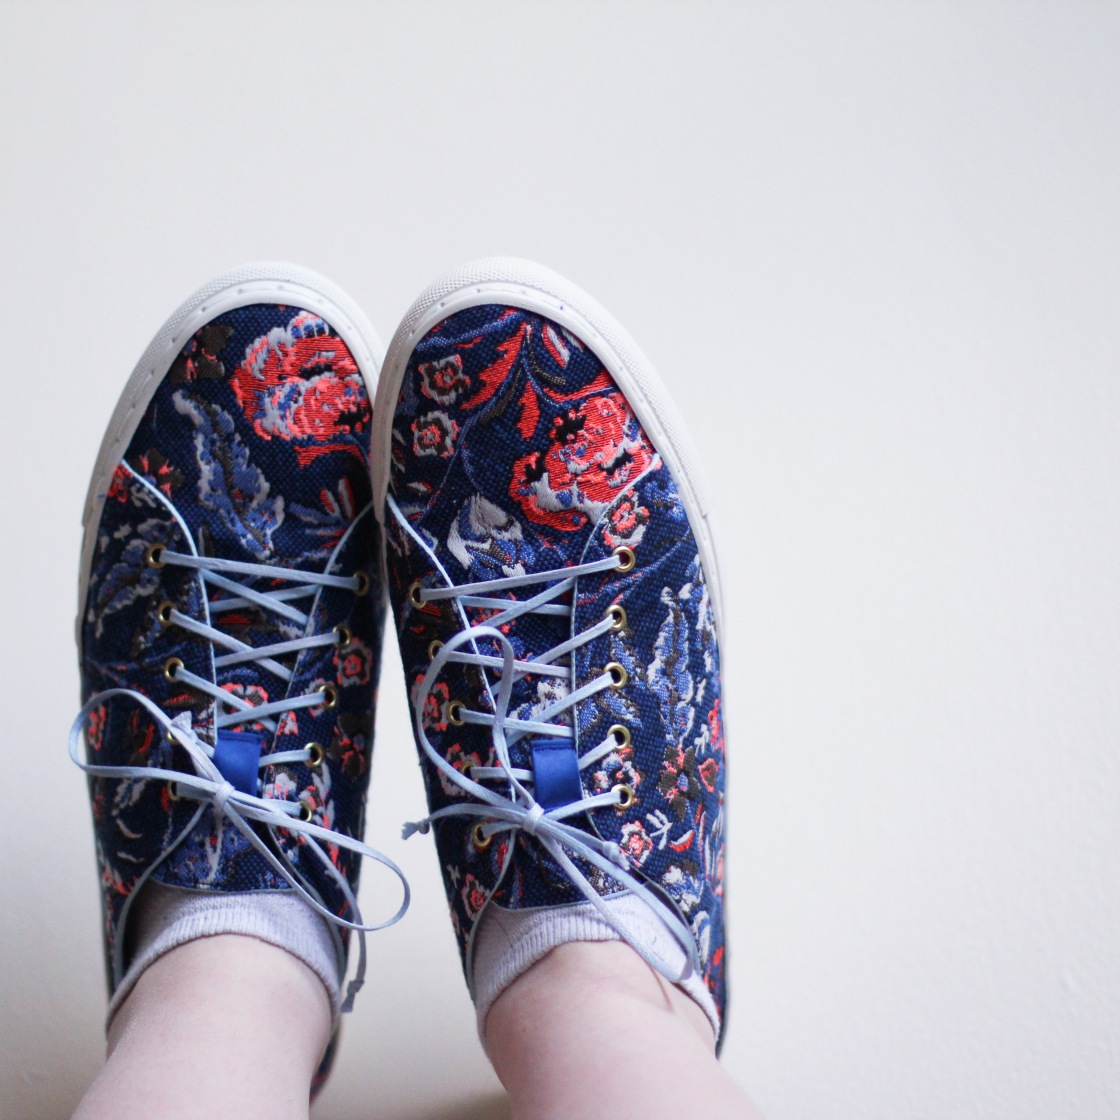
They look awesome! They came out looking really professional.
LikeLike
Was thinking of using fabric with Sneakerkit! Thanks so much for your most helpful post!
LikeLike
You’re welcome! 🙂
LikeLike
Hello! This post is super interesting, and I’m about to try it out. Can you clarify if you used the heavy or light Decovil? It’s tricky to source in Australia so I want to be sure I get the right one.
LikeLike
Thanks for reading! I actually remember having a lot of trouble figuring out what I needed because it seemed like there were so many options. From what I recall it was quite stiff – almost like a cardstock in weight and texture (and you could stand it up when rolled up!). So probably the heavy!
LikeLike