When I was a teenager, I pretty much only ever sewed one skirt pattern – a rectangle with a ruched elastic waistband. I made a version in cotton voile, which I wore on my first date with my husband. I made a version in flannel, before I knew how to choose appropriate fabrics for projects. I made a very bulky one out of cotton sateen, and one out of cheap cotton/poly batiste (which I am embarrassed to say, I still wear at home). It was just an incredibly versatile pattern.
I made all those skirts using instructions from Anna Maria Horner’s blog, where you can still find a PDF of the pattern for a lined skirt. I’ve since developed my own method of making this skirt, which I find quicker and uses less fabric (I found that most fabrics I used had no need for the lining). AMH’s pattern will work great for you if you’re using a very lightweight or sheer fabric.
Anyways, if you’d like to learn how I do it, please follow along! If you can sew a straight line on a sewing machine, you can make this super-easy skirt! The hardest part is inserting the elastic.
What You’ll Need:
- 1.5-2 yds fabric of your choice (I like flowy fabrics like rayon, you can use any lightweight fabric such as cotton voile/lawn. You could probably use silk, but it’ll be a bit trickier to sew the elastic channels).
- Matching thread
- Safety pins (I like to have both regular ones and the tiny ones on hand)
- 1/4″ wide elastic – enough for 3 times your waist measurement
- Seam ripper
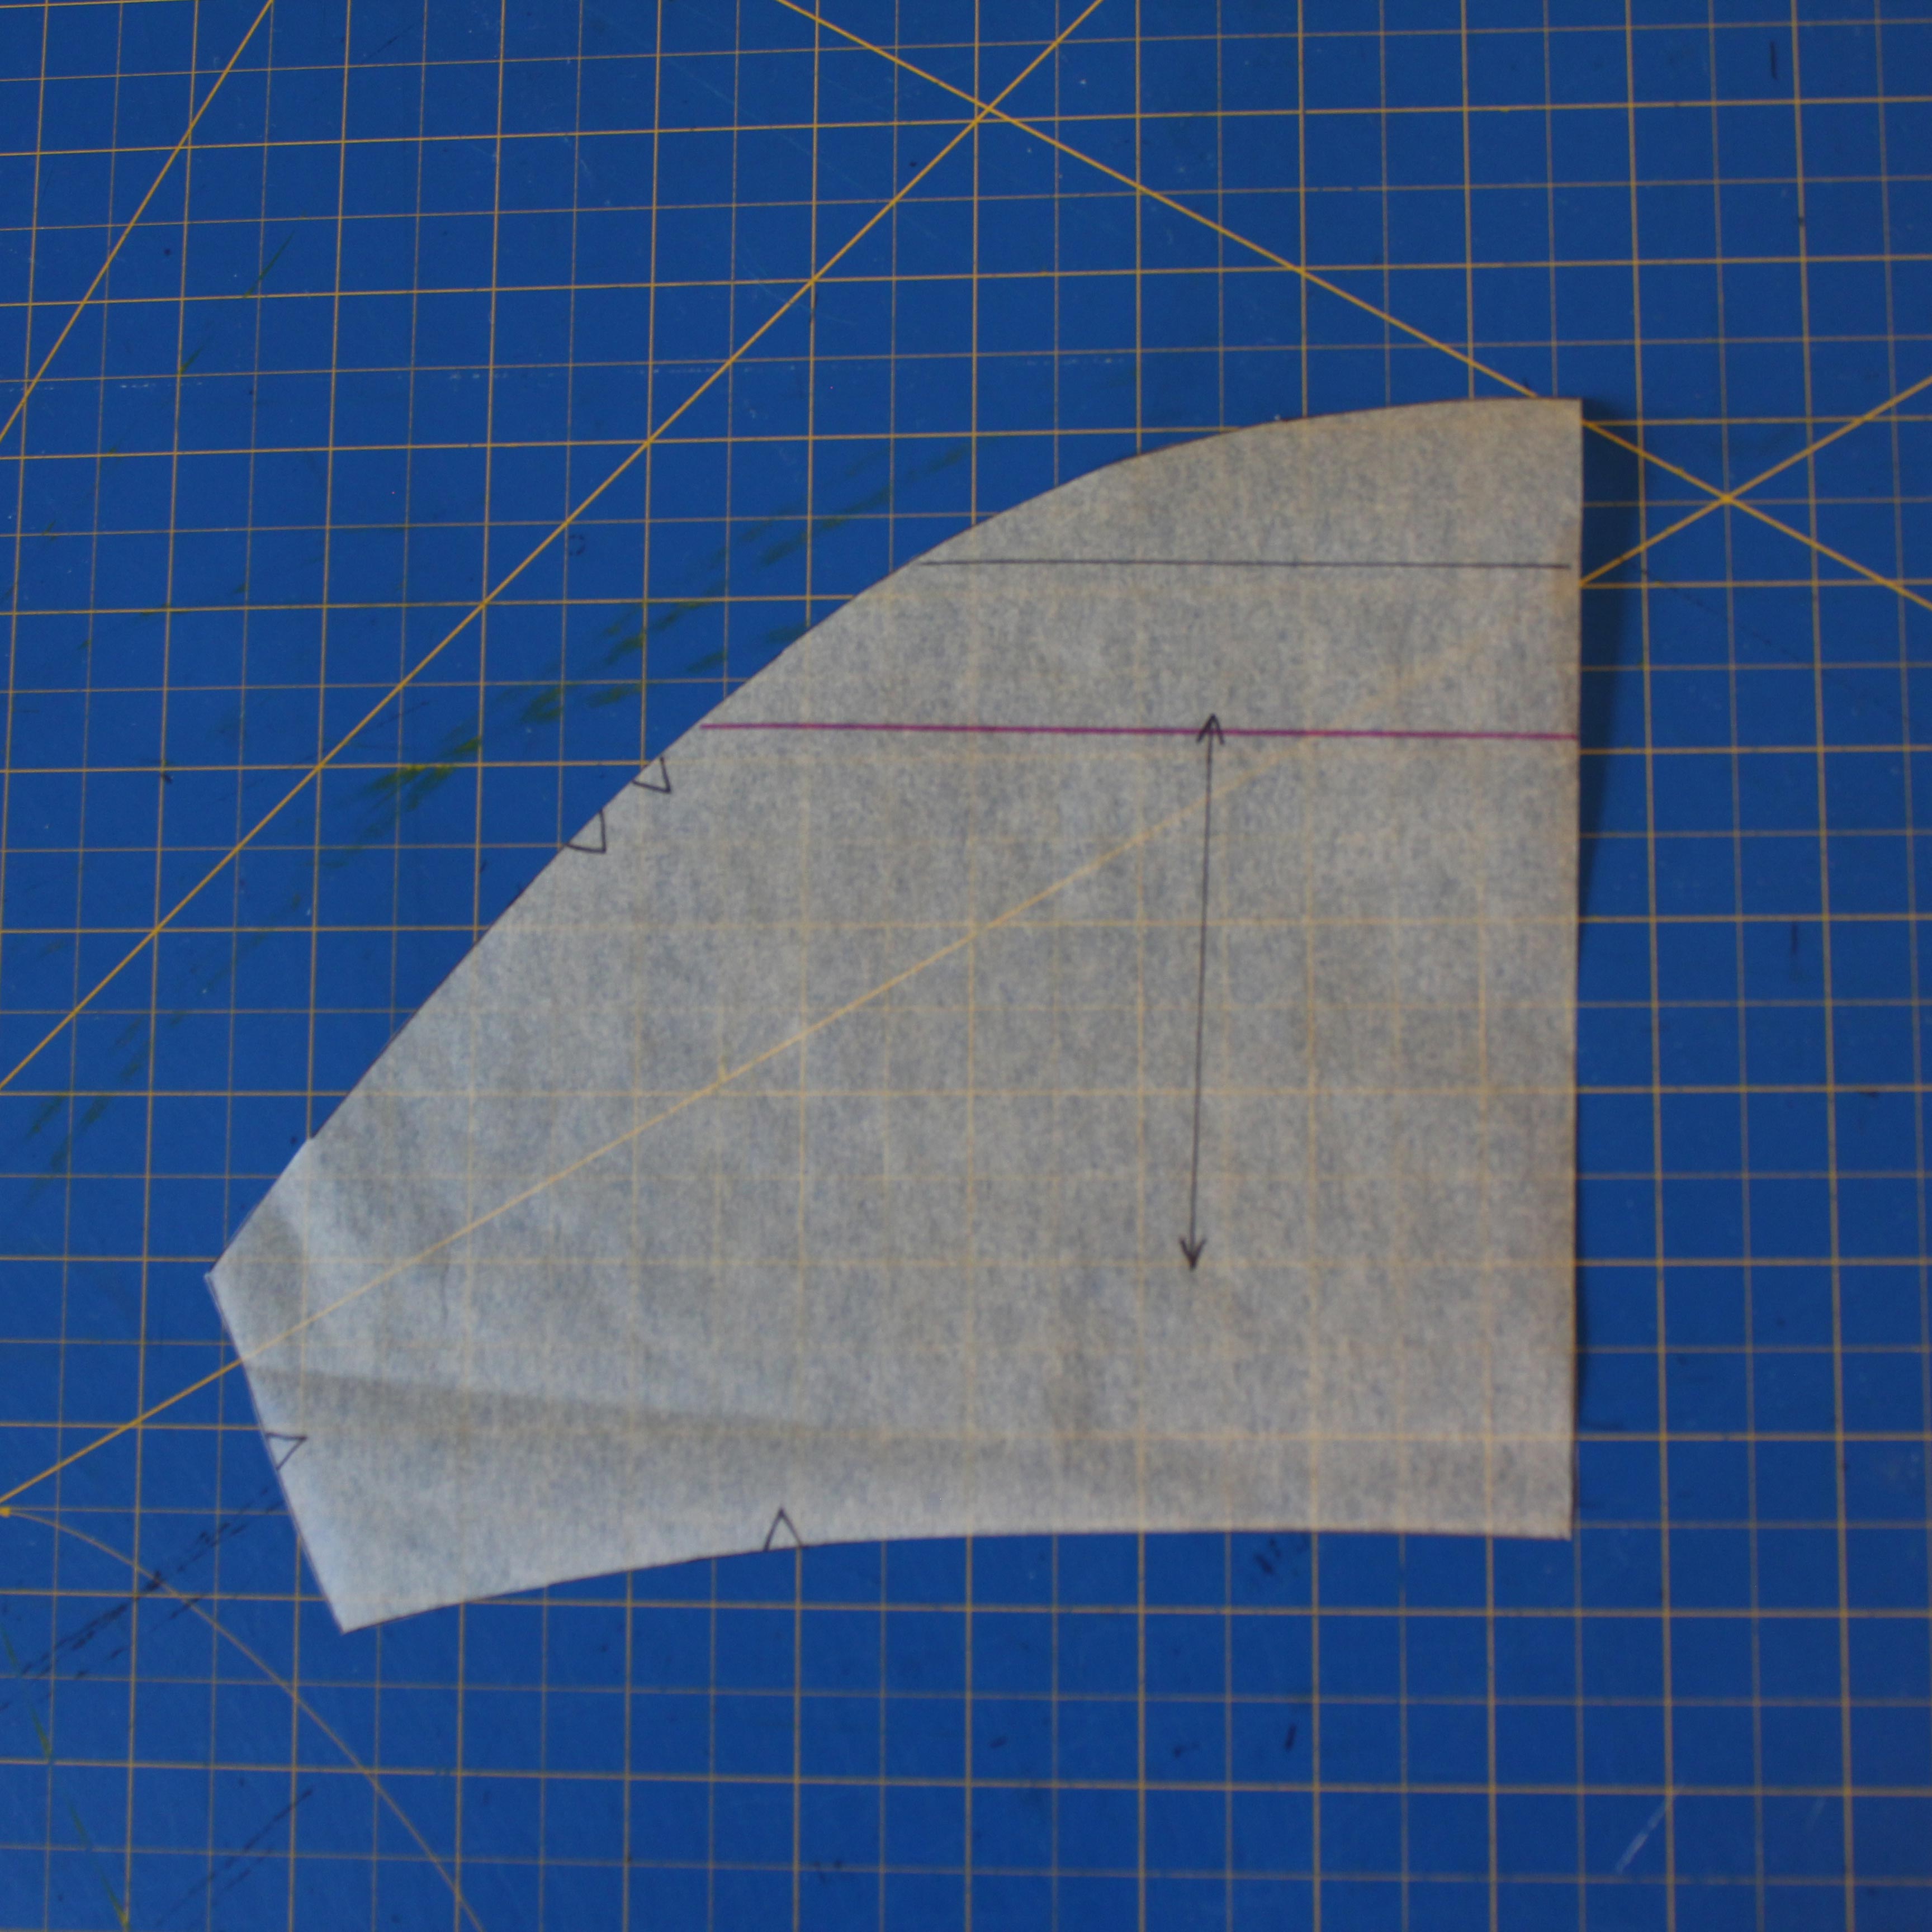
Measuring and Cutting:
The only piece you’ll need to cut for this skirt is essentially a large rectangle.
For the width, you’ll want to measure at least 10″ more than your HIP measurement. I recommend cutting more than that, though, because it will give you more gathers at the waist. I went with the width of my fabric from selvedge to selvedge – 60″.
If your fabric isn’t very wide (44″ for example), fold the fabric in half and cut two rectangles at HALF your desired width.
The width you choose doesn’t need to be precise – just choose less width for less gathers (just make sure it is bigger than your hip measurement), and more width for more gathers (I find between 60-80″ total width is ideal).
For the length, determine your preferred skirt length, and add 2 3/8″ (for the waistband) and 1″ (for the hem). For example, if you want a 25″ long skirt, your rectangle will need to be 28 3/8″ tall.

Sewing:
Start by sewing the side seams, right sides together (1 seam if you only cut one rectangle, 2 seams if you cut two rectangles). Finish the seam and press open (I like to serge the edges first, before sewing, using a 3-thread overlock stitch).

Then, you’ll want to fold over the top edge of your skirt 1/2″ and press. Then fold again 2″ in, and press well. You can pin the fold in place if you want, but if your folds are crisp I don’t find it necessary. Make sure to keep the fold the same width all the way around.

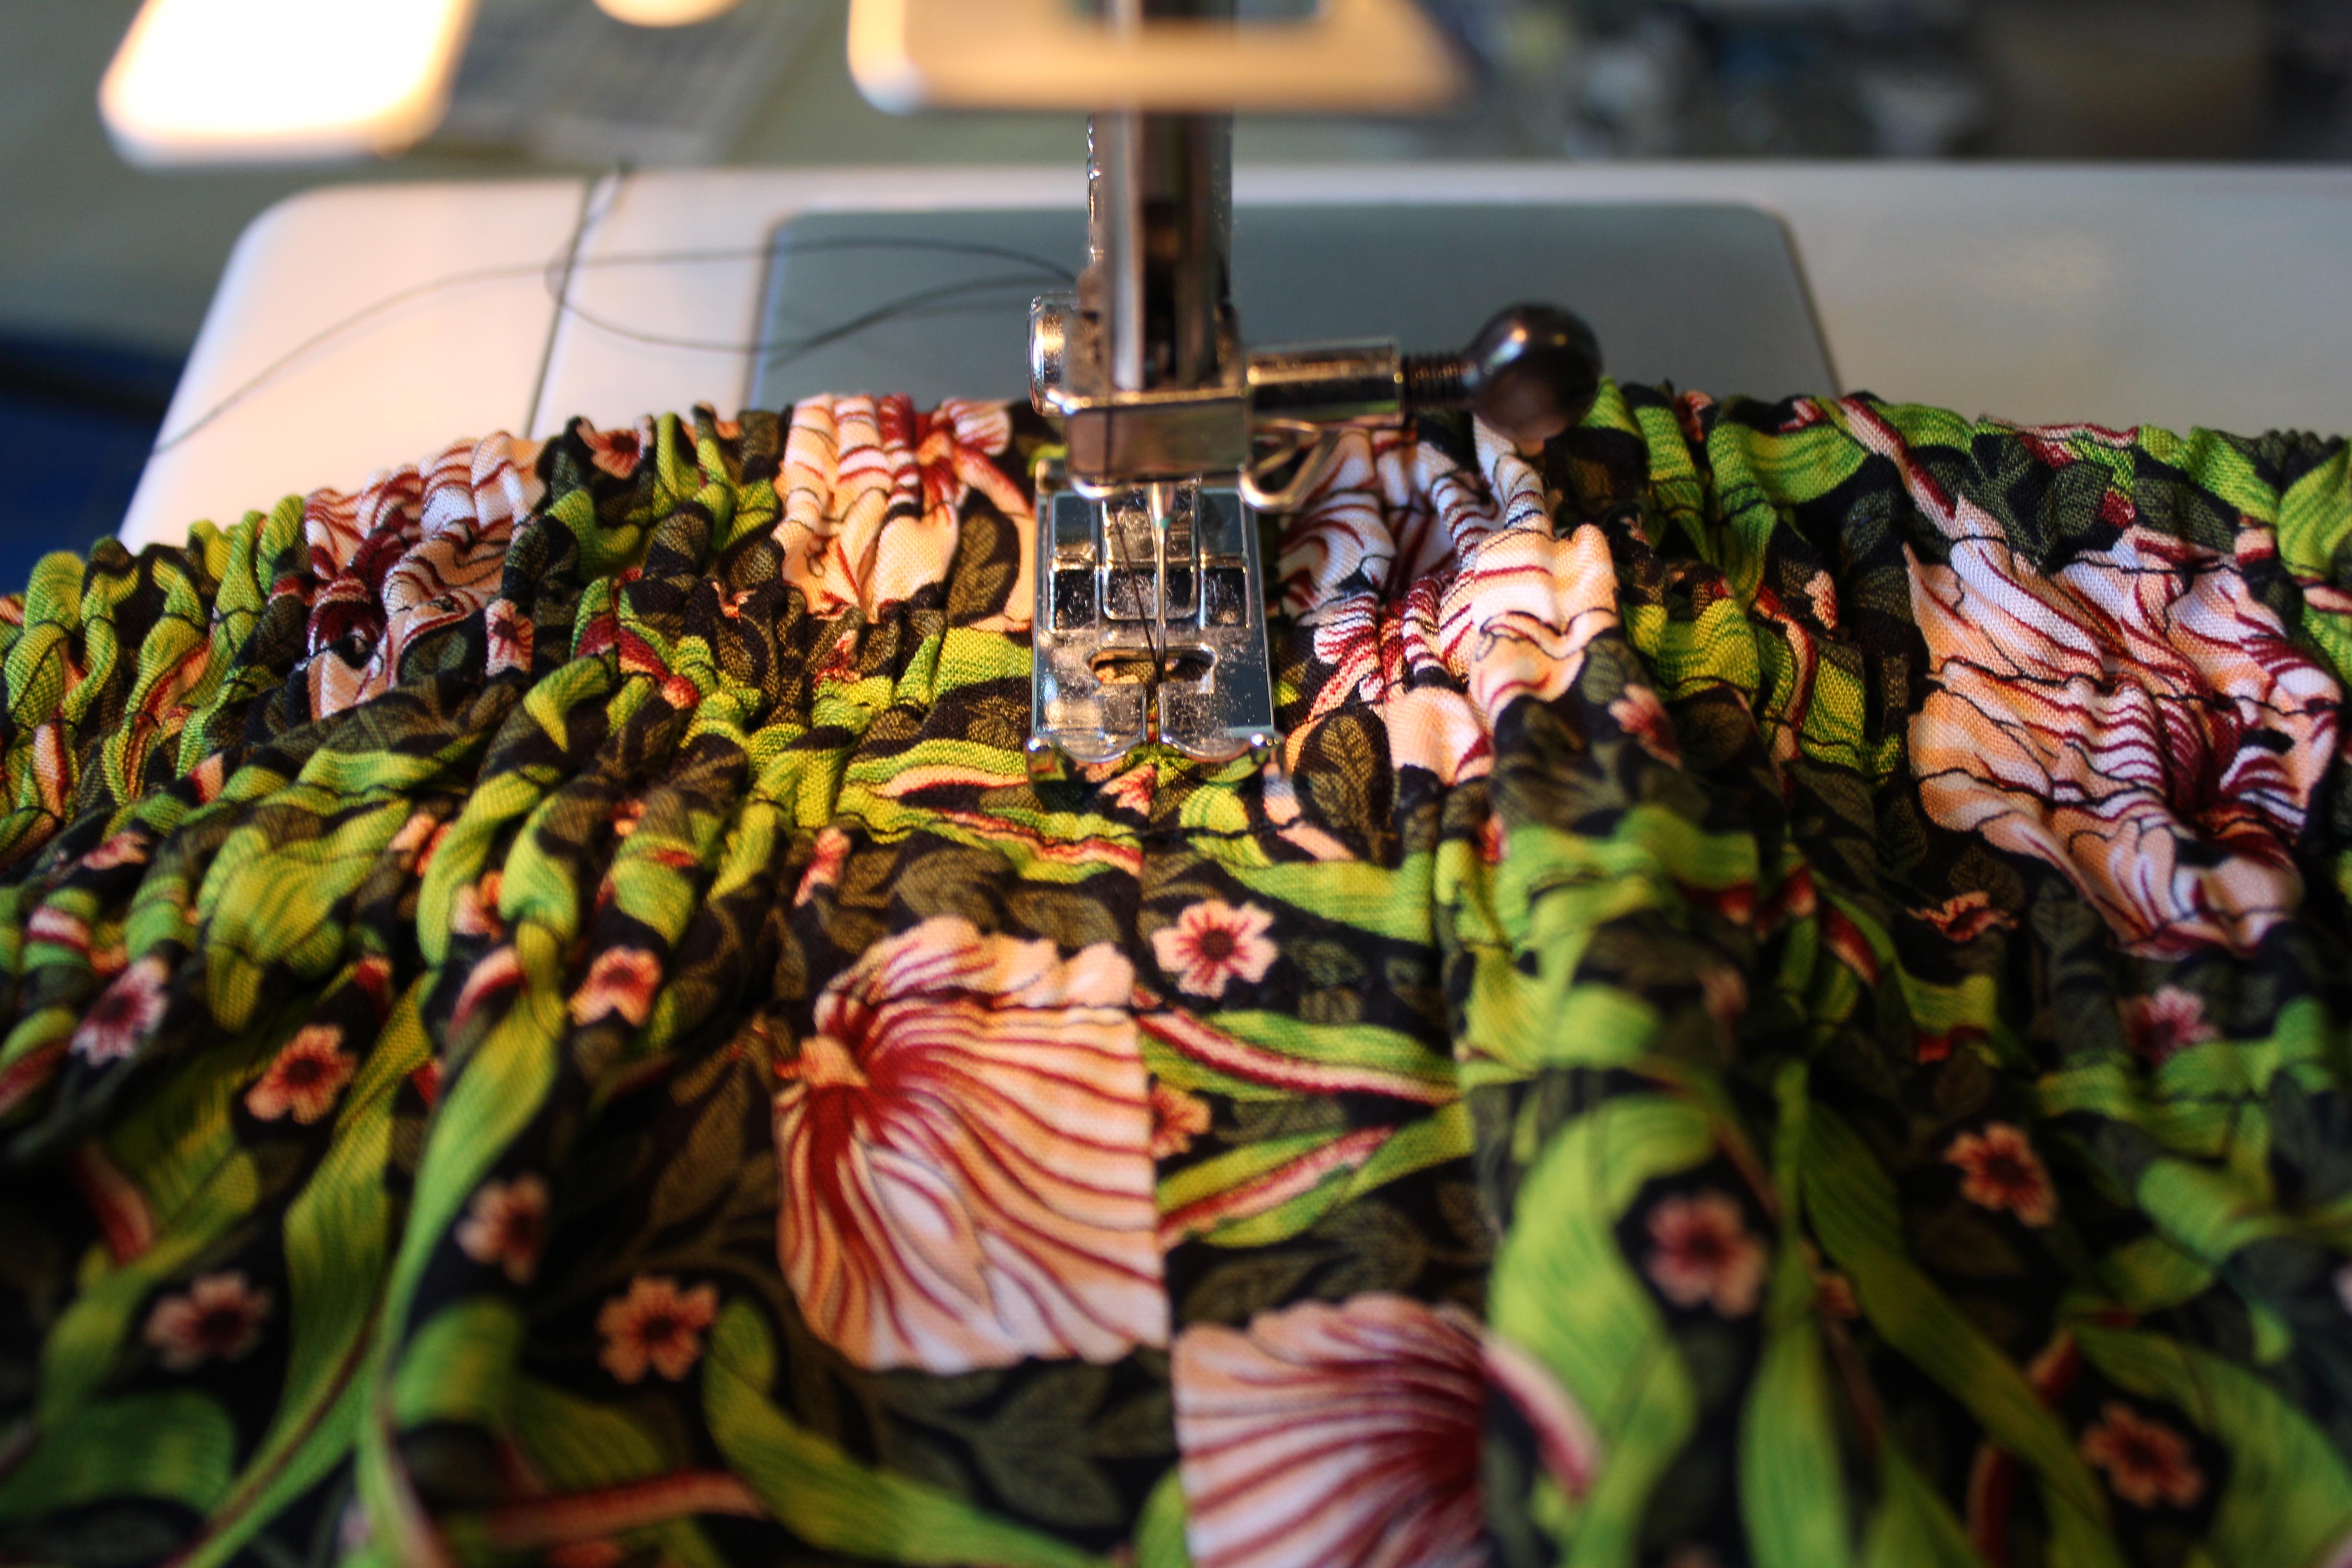
Now we’re going to stitch the elastic channels. Make sure the folded edge of your skirt is lined up with the 3/8″ mark on your sewing machine. You want to make sure that you stay at (or slightly, slightly past) that line – if you go below it, your elastic may not fit through. Stitch all the way around until you meet back up with the beginning.

Move the edge of the skirt to the 6/8″ mark, and stitch around like you did before. We will be creating a gap between the first elastic channel and the second one.
Repeat this step one more time to create the second elastic channel. At this point, I’ll have run out of lines on my machine to measure by. You can either mark your machine with a line of tape, or do what I do, and keep a careful eye on the distance between the presser foot and the previous line of sewing (for me there is a 1/8″ gap between the edge of the foot and the stitch line).

Then, flip your skirt over so that you can see the bottom fold of the waistband. Carefully stitch right along the folded edge.

Now for the final row of stitches. Line up your needle between the last two rows you stitched, and sew all the way around. I flipped the skirt back to the right side, but you can do this from whichever side you prefer.
The elastic channels are now finished! Your waistband should look like this.

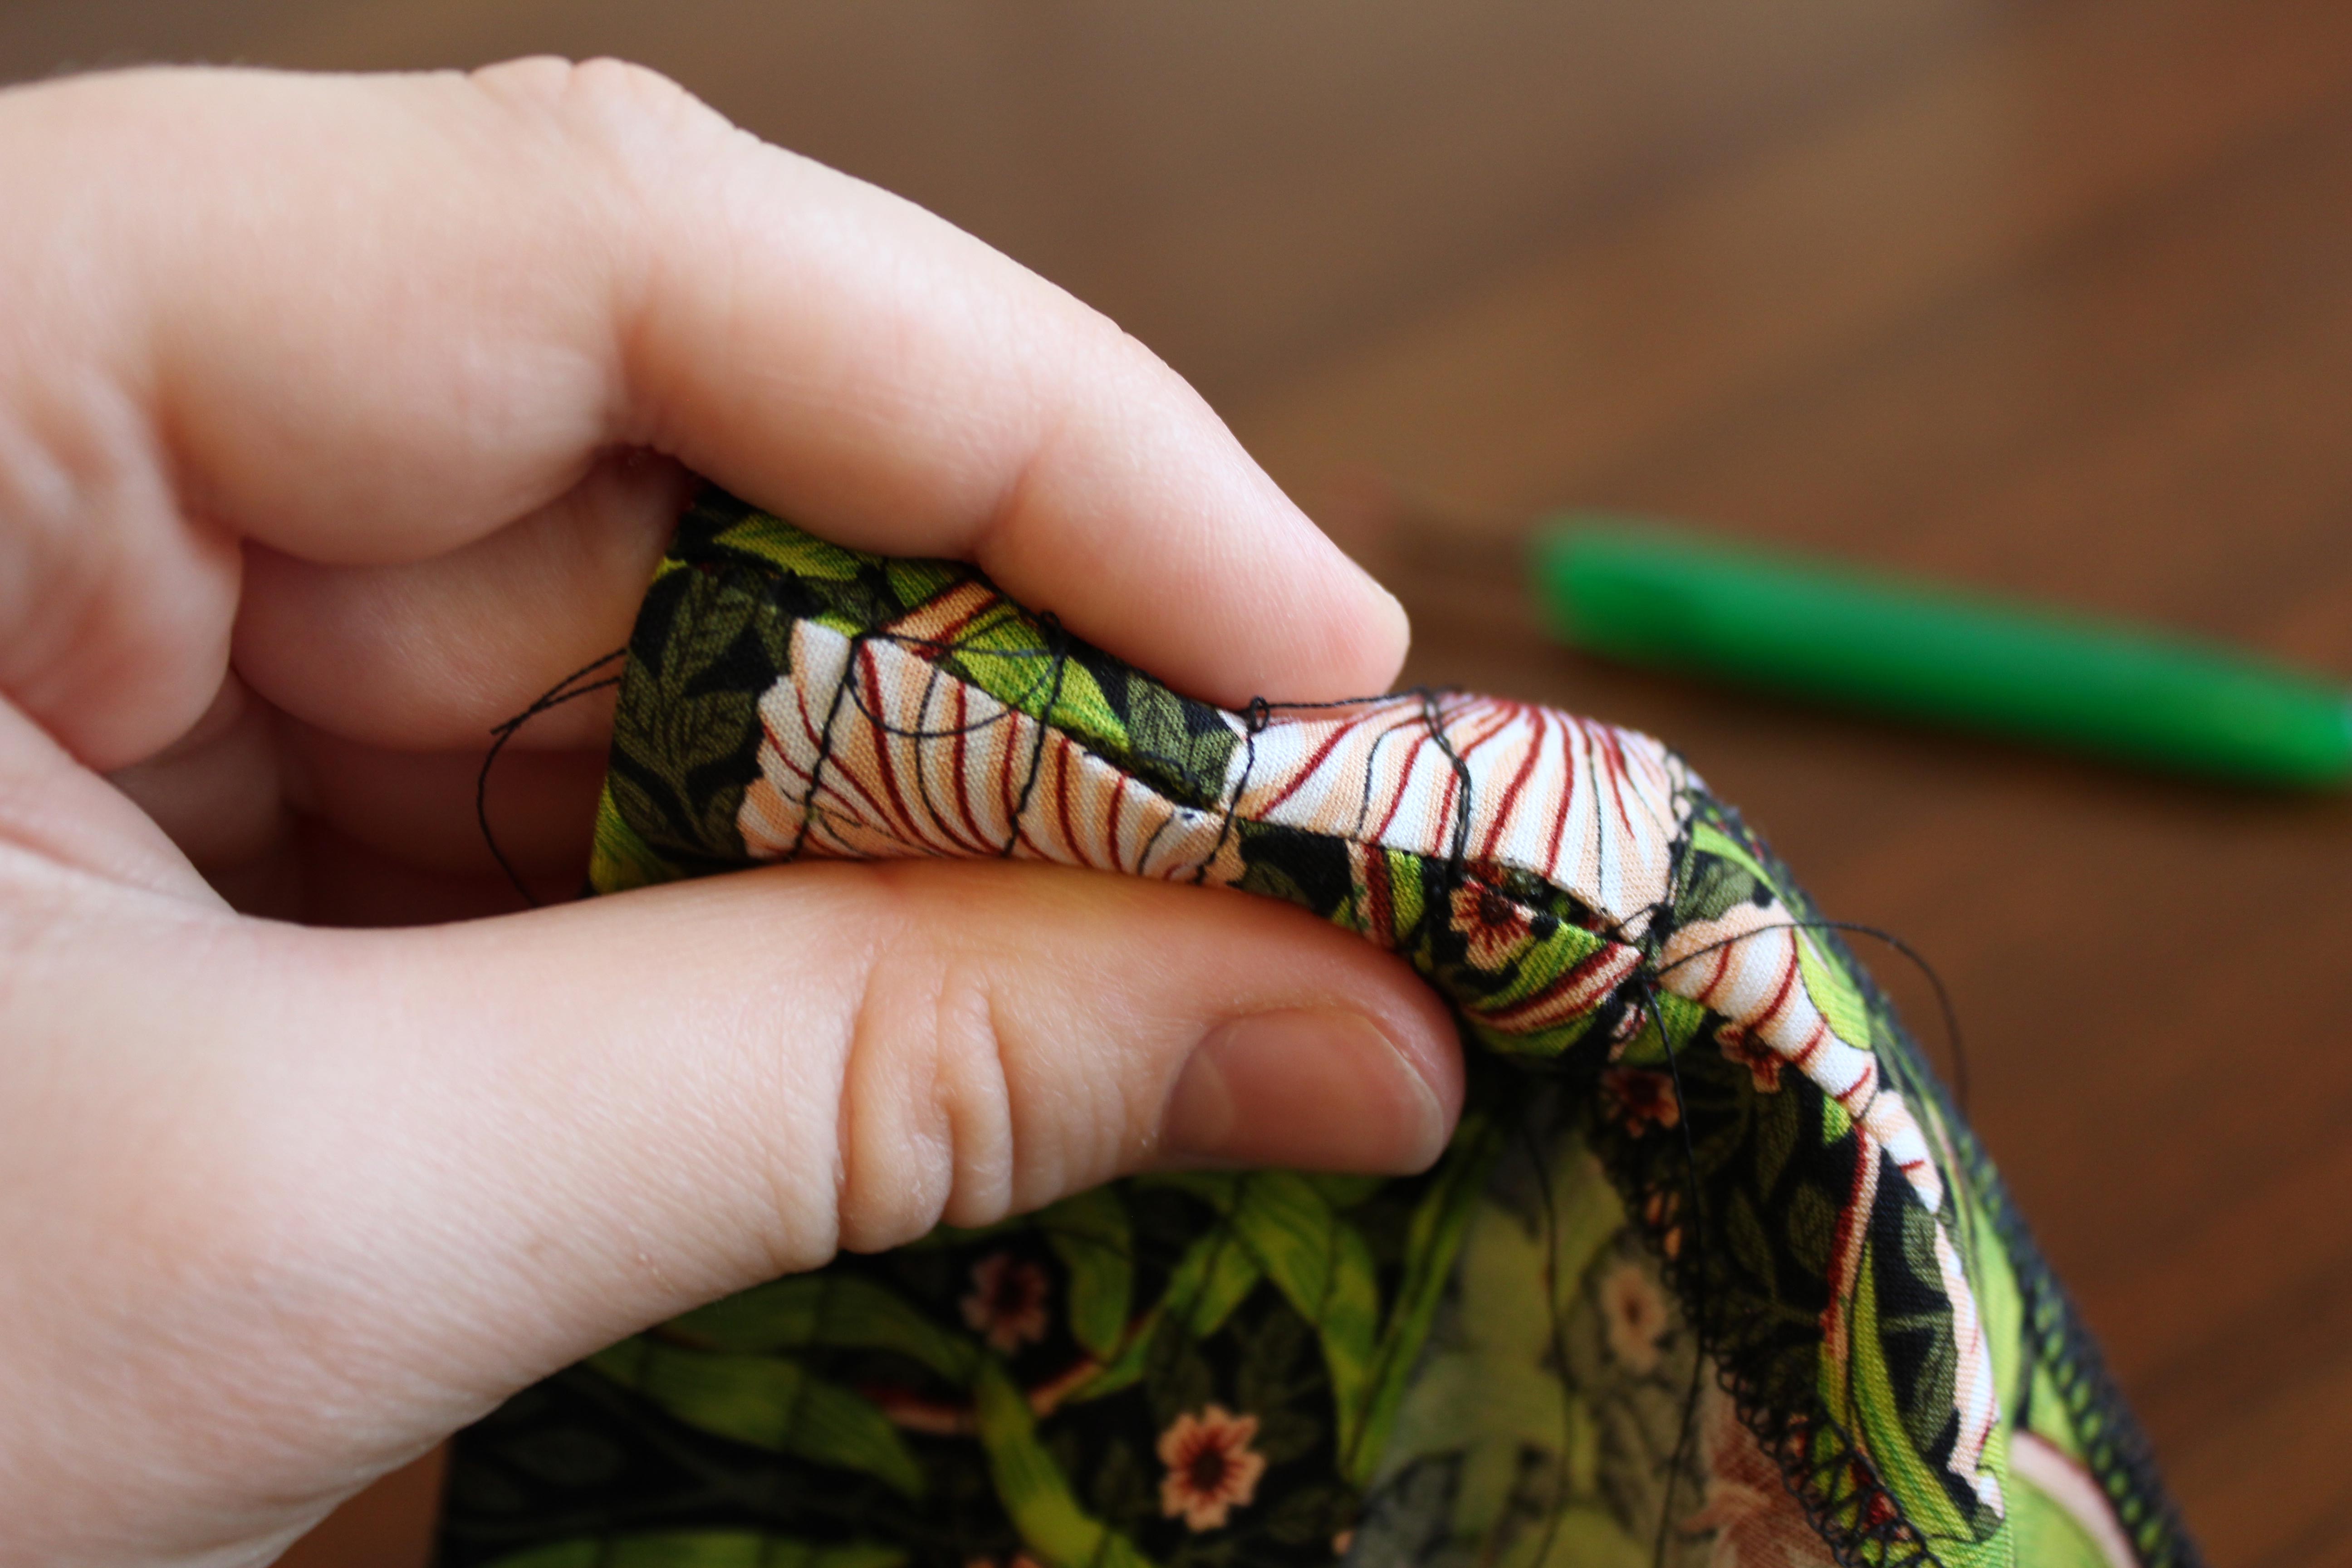
Now we can actually insert the elastics. At the back/side seam, on the INSIDE, carefully seam rip the first, third, and fifth channels. Make sure you don’t seam rip the seam at the right side of the skirt.

You’ll have three little holes through which to thread your elastic.
Now, cut off three lengths of elastic, each the length of your waist measurement (you can subtract 1-2″ if you want a tighter waistband. You can also tighten the elastics before sewing up the casing).
Attach a small safety pin to one end and a large one at the other. Make sure the pins aren’t pinned too close to the edge of the elastic, otherwise they might tear off in the middle of the channel, which is pretty frustrating – trust me.

Insert the end with the small pin into the first open channel, and use the pin to inch the elastic through.

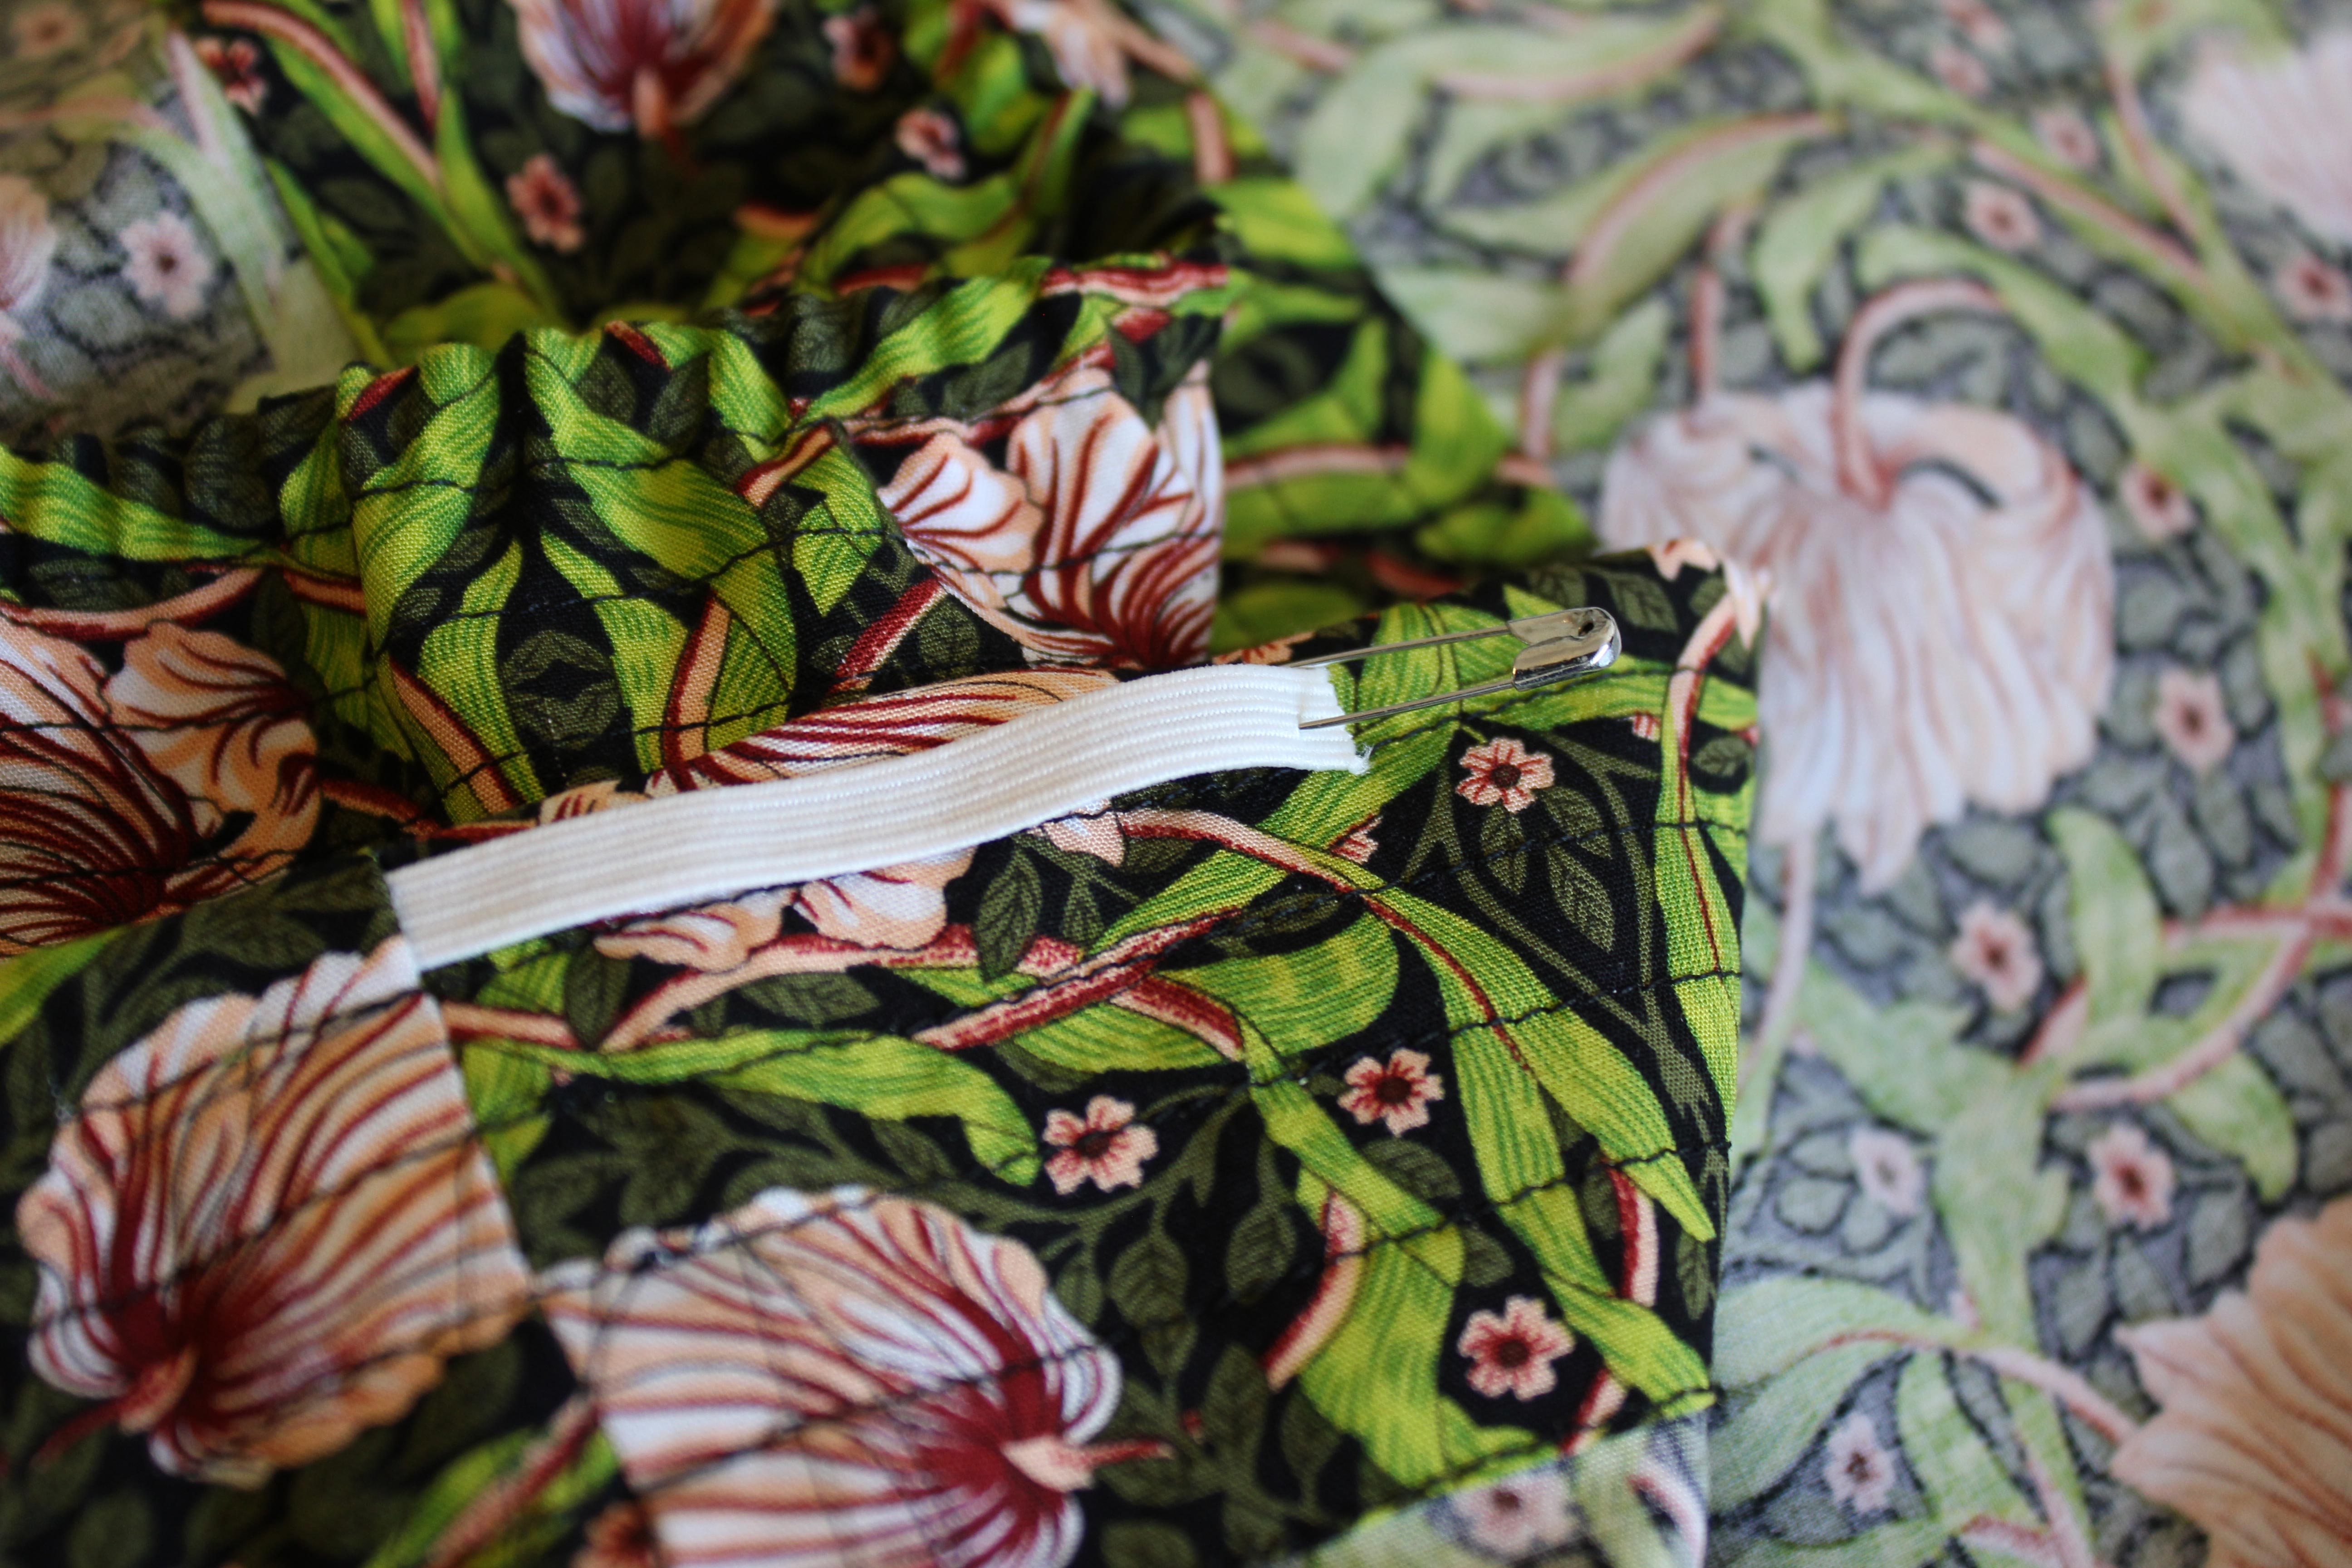
Push the elastic all the way around the skirt, until you reach the opening again. The large safety pin should act as a “stopper” and keep the elastic from being pulled all the way through.
Once the elastic has been pulled all the way back to the beginning, pin the elastic ends together so they don’t slide into the skirt.

Repeat this process for the other two pieces of elastic. Your waistband should look like this.

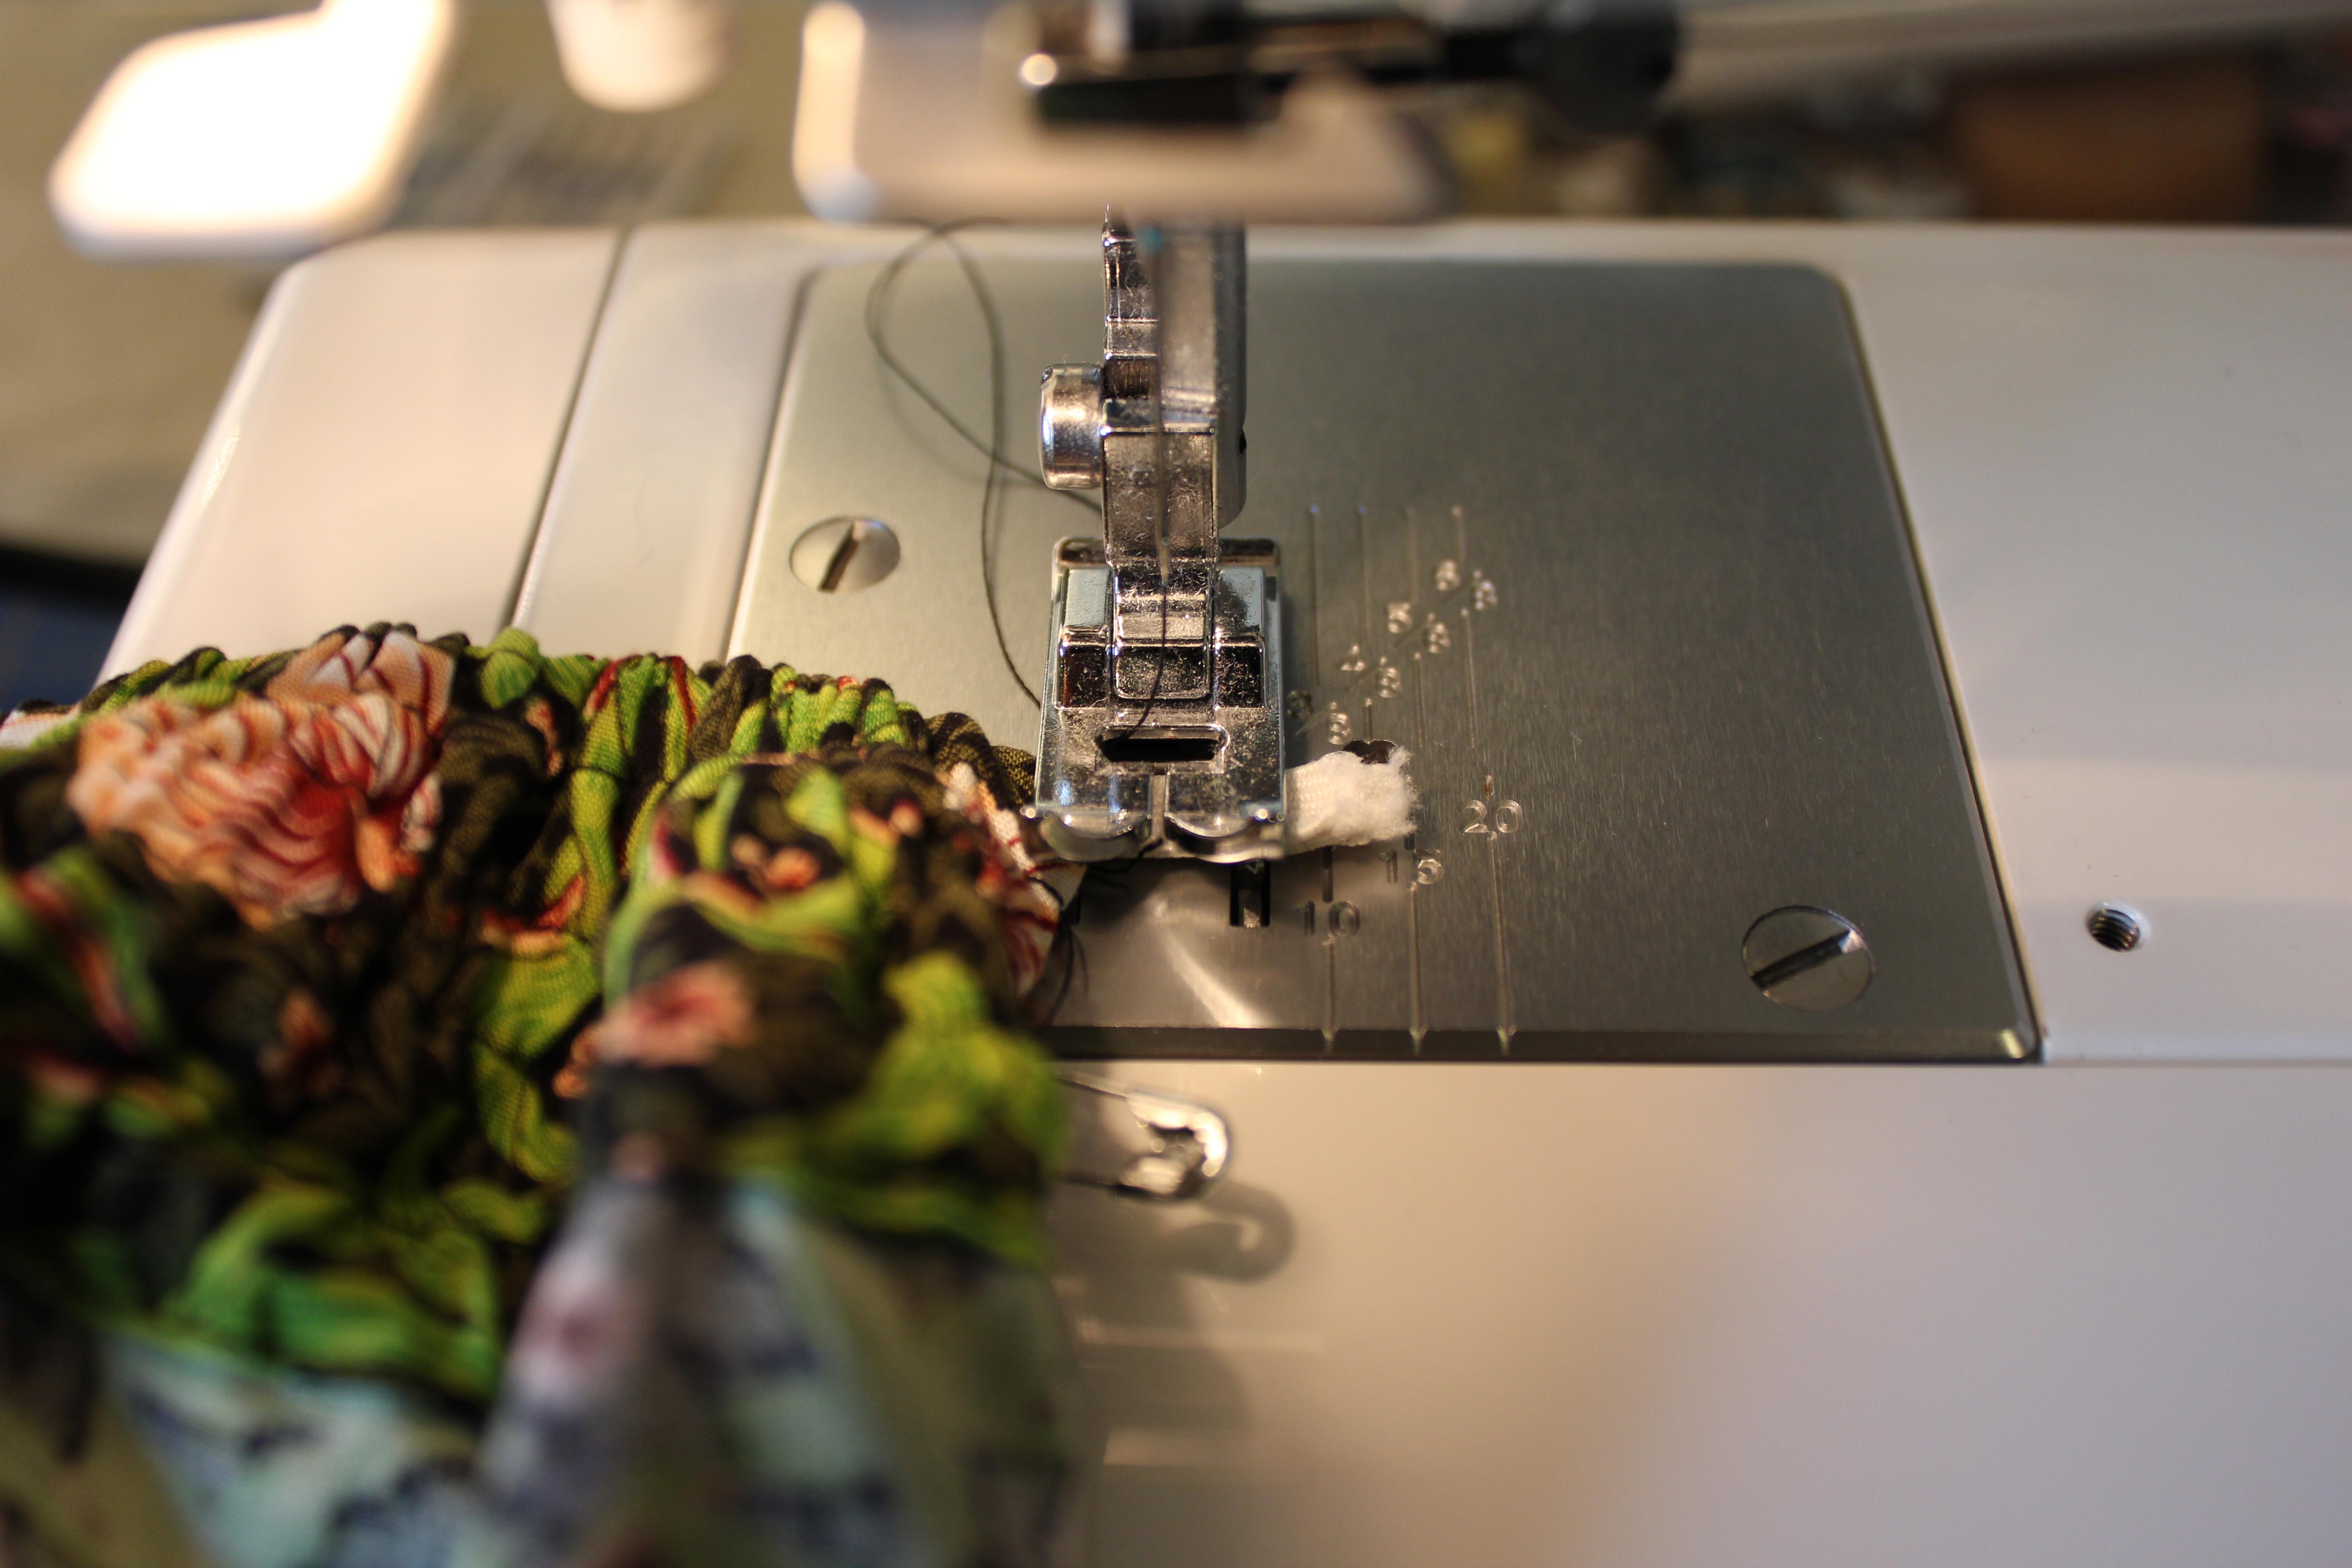
Make sure the elastics aren’t twisted, and sew the pinned ends together. I like to sew back and forth several times to make sure it’s secure. Trim the elastic ends about 1/8″ from the stitching.
Pull the waistband to help ease the elastic ends inside the channels. Try on the skirt and make sure you’re happy with the snugness, and make sure the gathers are evenly distributed.
Use a ladder stitch or whip stitch to stitch up the channel openings. I find that after all the stretching, the gaps between the channels have opened up a bit as well, so I stitch the whole seam closed to make sure everything is secure. Sometimes the first channel opens up on the right side as well, so stitch that closed if you have to.
Then, lay your waistband flat and stitch in the ditch at the seam to secure the elastics and keep them from twisting around too much in their channels.
To finish, turn up and press the hem 1/2″ twice, and sew. You’re done! Try on your new skirt and give it a twirl!
If you have any questions, please let me know in the comments below!