I have recently been in a bit of a slump in terms of my pattern collection. I use the same few patterns over and over (the Christine Haynes Emery, the By Hand London Zeena) but had been holding off from buying any new indie patterns. I decided it was time to “invest” in some more modern patterns, and the True Bias Roscoe was one of them.
One of the reasons I hadn’t yet bought the Roscoe was because a) I had read some reviews in which sewists weren’t a fan of the large amount of ease/tent-like quality of the dress and b) instead of a zipper, the front neck has one of those tie-neck slit things that you see on dresses at the mall that are meant to hang open – which I didn’t like, and I didn’t think it would suit me tied closed. (Necklines with frills or dangly things just don’t do it for me).
I found two pattern hacks that convinced me I could make this dress work for me: Chloe Montrose’s, in which she put an elastic channel in at the waist, thus cinching the waist in in a very flattering way, and Carole Rankin’s. Carole had simply made the slit in the back instead of the front, making for a round neckline in the front. Both these hacks solved the issues I had with the pattern (and also convinced me how gorgeous the pattern can look).
On my version I moved the slit to the back of the neck, and made a button loop instead of having the long ties. I made this button loop by cutting a short piece of bias (about an inch wide), sewing it into tube, and turning it out and sewing it into the slit opening as instructed for the ties. I do think I could have made the loop a bit shorter as the opening gapes a bit – but I don’t mind so much since it’s in the back.

Another change I made in the neckline area was I lengthened the piece of bias binding that’s used to bind the neckline – probably by about 4 inches. This deepened the neckline, without my having to cut away from the actual neckline. I thought to do this because Carole’s version seemed to have quite a high neckline and I didn’t really want that look for this dress.
Then there was the waist band – I started by marking a line 1″ above the “lengthen/shorten” line on the pattern. I made a channel by cutting two long rectangles – 24″ and 26″ long – by 1″-plus-a-bit wide. I sewed these pieces together on both sides to create somewhat of a loop, and then pressed a scant 1/4″ in along each side. I pinned the strip/loop along the line I marked and topstitched along each edge all the way around the waist of the dress. Then I worked an 1/2″-wide elastic the length of my waist measurement all the way through (I seamripped one of the sides of the loop open to insert the elastic).
When I tried it on, it looked awful. Kind of 80s country chic but not in a cute way. It was very blousey. So I pulled out the elastic (I had to seam rip where the two ends were sewn together) and tried on the elastic over the dress. It looked much better when I brought the elastic up about 2 inches.

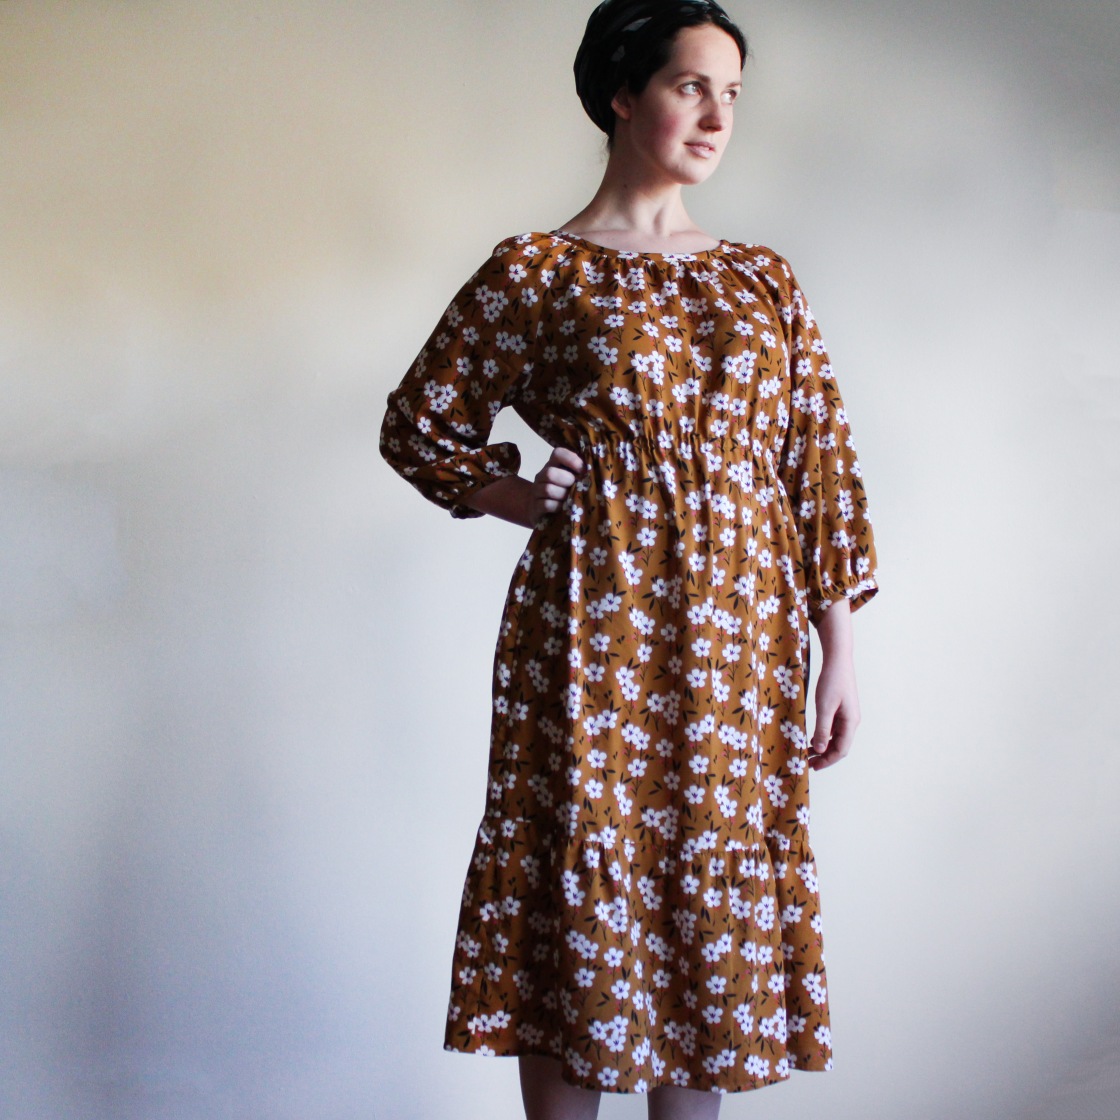
So I had to seam rip out the entire channel I had sewn in. I then used the little holes left from the stitching as a guideline, and pinned the channel about 2 inches above it (closer to my bust than my actual waist). I put the elastic back in, and the dress was much improved. When I measured it, the channel lands about 4 inches below the armscye. So I’ve taken note of that to use for marking next time.
Otherwise, I didn’t make changes to anything else. I do think in the future I’d like to lengthen the dress and eliminate the ruffle. I could also lengthen the sleeves to full-length, or put elastics in the cuffs. There are so many options for hacking this dress, that I think I will get a lot of bang for my buck. I now see why this pattern is so popular!


Thank you so much for giving detailed directions on your hack of the Roscoe. I love your version and plan on this for my next project!
LikeLike
So glad it helped!
LikeLike